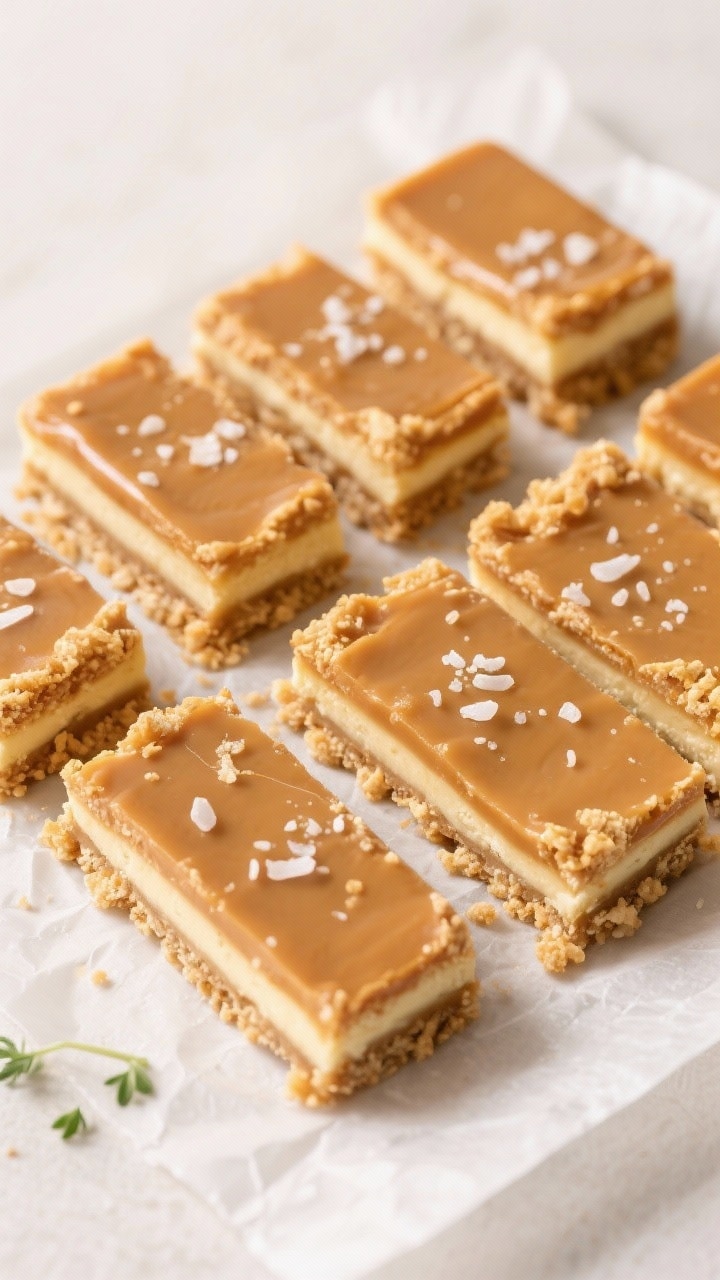
Salted Caramel Butter Bars are one of those desserts that stop conversation. They’re rich, buttery, and full of that salty-sweet caramel that makes every bite feel a little indulgent. The edges are lightly crisp, the center stays soft, and the caramel layer ties it all together.
If you need a dessert that travels well, cuts cleanly, and always gets requested again, this is it. Simple ingredients, easy technique, and big payoff.
What Makes This Special

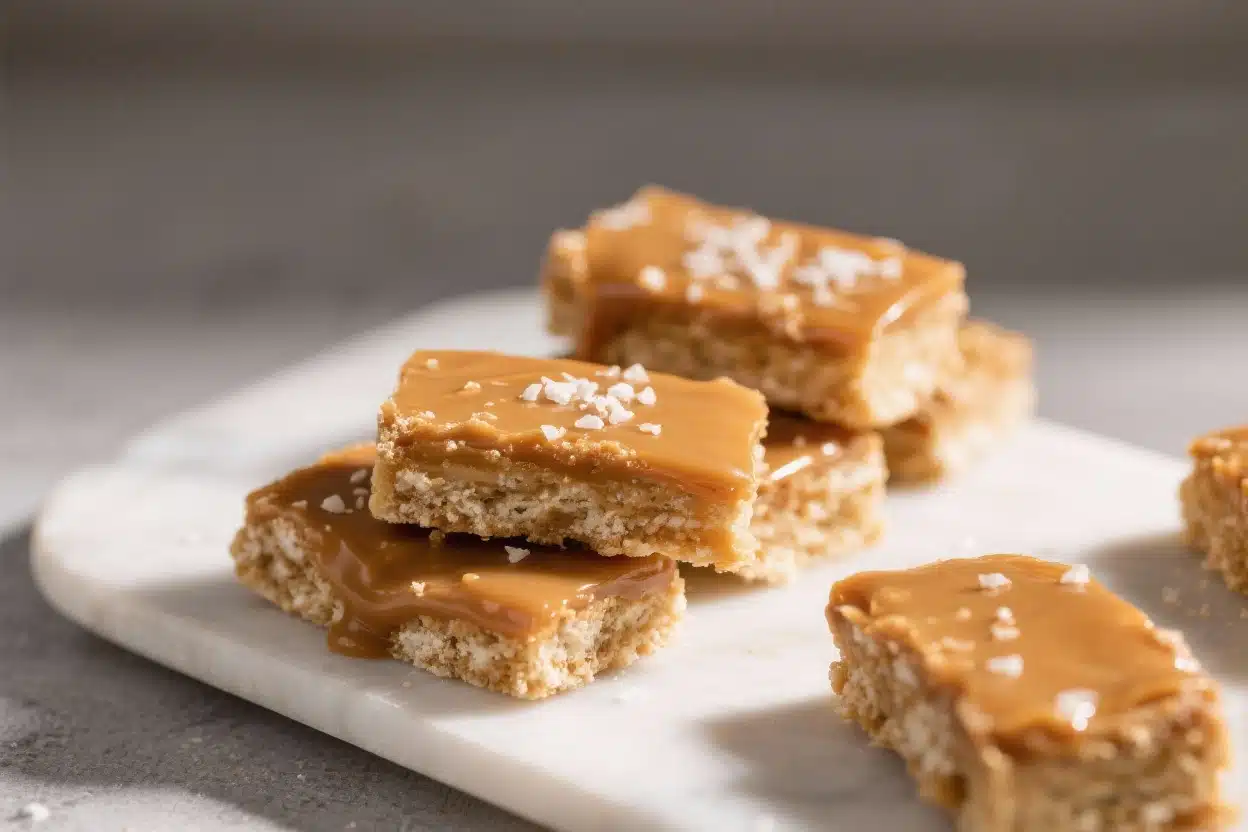
These bars are all about balance. The shortbread-like crust is dense and buttery, while the caramel layer brings gooey sweetness with a hit of sea salt to keep it from being too heavy.
A crumble of dough on top adds a little texture and protects the caramel from overbaking. They slice neatly, taste even better the next day, and feel both comforting and a little luxurious. It’s a bakery-style treat you can make in your own kitchen with zero fuss.
What You’ll Need
- Unsalted butter: 1 cup (2 sticks), softened
- Granulated sugar: 2/3 cup
- Powdered sugar: 1/4 cup
- Vanilla extract: 2 teaspoons
- All-purpose flour: 2 1/4 cups
- Fine sea salt (for dough): 1/2 teaspoon
- Soft caramels: 11 ounces (store-bought unwrapped caramel candies) or homemade caramel sauce
- Heavy cream: 3–4 tablespoons (for melting caramels)
- Flaky sea salt: 1/2 to 1 teaspoon, for sprinkling over caramel
- Optional flavor boosters: 1/4 teaspoon almond extract for the dough, or a pinch of cinnamon in the caramel
Instructions

- Prep the pan and oven. Heat the oven to 325°F (163°C).
Line an 8×8-inch baking pan with parchment, leaving overhang on two sides to lift out later. Lightly grease the parchment.
- Cream the butter and sugars. In a mixing bowl, beat softened butter with granulated sugar and powdered sugar until light and smooth, about 2–3 minutes. Mix in vanilla (and almond extract if using).
- Add dry ingredients. Whisk flour and fine sea salt in a separate bowl.
Add to the butter mixture and mix on low just until a soft dough forms. It should be cohesive but not sticky.
- Press the base. Transfer about 2/3 of the dough to the prepared pan. Press it evenly into the bottom with your fingers or the bottom of a measuring cup. Chill the remaining 1/3 dough in the fridge for crumbling on top.
- Par-bake the crust. Bake the base for 18–20 minutes until the edges are set and lightly golden.
This prevents a soggy bottom.
- Make the caramel layer. While the base bakes, combine soft caramels and 3 tablespoons heavy cream in a small saucepan over low heat. Stir constantly until smooth and pourable, 4–6 minutes. If it’s too thick, add another tablespoon of cream.
Remove from heat and stir in a tiny pinch of salt (not the flaky kind).
- Layer and salt. Pour the warm caramel over the hot crust. Tilt the pan to spread evenly. Sprinkle the top with flaky sea salt—start with 1/2 teaspoon and adjust to taste.
- Top with crumble. Break the chilled remaining dough into small clumps and scatter evenly over the caramel.
Leave small gaps so some caramel peeks through.
- Bake to finish. Return the pan to the oven and bake 22–26 minutes, until the top is lightly golden and you see gentle bubbles around the edges. The center will still look soft—this is good.
- Cool completely. Set the pan on a rack and cool to room temperature, then chill for 1–2 hours for cleaner slices. Lift out using the parchment and cut into bars with a sharp knife.
Wipe the blade between cuts for neat edges.
Keeping It Fresh
These bars keep well, which makes them great for gifting or making ahead. Store them in an airtight container at room temperature for up to 3 days. If your kitchen is warm, refrigerate them and bring to room temp before serving for the best texture.
For longer storage, freeze the sliced bars in a single layer, then transfer to a freezer bag for up to 2 months. Wrap tightly to prevent the caramel from absorbing freezer smells.
Health Benefits
Let’s be honest: these are a treat. They’re rich in butter and sugar, designed for enjoyment, not as a health food. That said, there are a few small positives.
Butter provides fat-soluble vitamins like A and E in modest amounts, and a little sea salt can help balance sweetness and enhance flavor so smaller portions feel satisfying. Enjoy them mindfully—one square goes a long way. If you want to lighten them a touch, see the Alternatives section for ideas that reduce sugar or swap some ingredients.
Pitfalls to Watch Out For
- Overbaking. If the top gets too dark or the caramel bubbles aggressively, the bars can turn tough.
Pull them when the top is just golden.
- Runny caramel. Too much cream or not enough cooling time leads to messy slices. Chill before cutting for clean edges.
- Too much salt. Flaky salt is punchy. Start light; you can always add more on top after cutting.
- Dry crust. Measuring flour too heavily makes the dough crumbly.
Spoon and level the flour or weigh it (about 270 g for 2 1/4 cups).
- Sticking to the pan. Parchment with overhang is key. Don’t skip it.
Alternatives
- Brown butter twist: Brown the butter for the dough, cool slightly, then proceed. Expect deeper, nutty flavor.
- Homemade caramel: Make a quick caramel by melting 1 cup granulated sugar over medium heat until amber, then whisk in 6 tablespoons butter and 1/2 cup warm heavy cream.
Add 1/2 teaspoon vanilla and a pinch of salt. Cool until thick but pourable.
- Nutty crunch: Add 1/2 cup chopped toasted pecans or almonds over the caramel before the crumble.
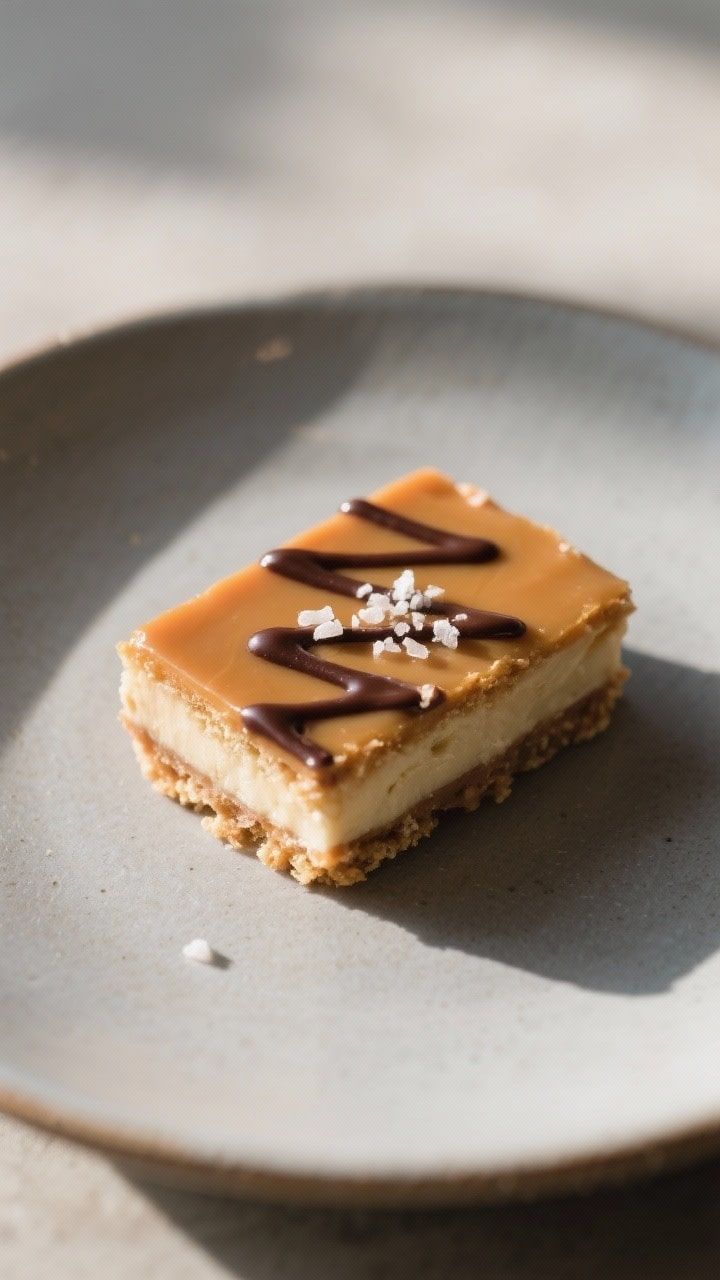
- Chocolate drizzle: After cooling, drizzle melted dark chocolate over the bars. The bitterness balances the sweetness.
- Gluten-free: Use a cup-for-cup gluten-free flour blend that includes xanthan gum.
Texture will be slightly more tender.
- Lighter touch: Reduce granulated sugar in the dough by 2 tablespoons and use a slightly thinner caramel layer. You’ll keep the flavor with a bit less sweetness.
- Larger batch: Double the recipe for a 9×13-inch pan. Bake the base 20–22 minutes and the assembled bars 25–30 minutes, watching color.
FAQ
Can I use salted butter?
Yes, but reduce the added salt in the dough to a pinch.
Taste your caramel before adding flaky salt so it doesn’t tip too salty.
Do I have to chill the bars before slicing?
It helps a lot. Chilling sets the caramel so you get tidy squares instead of smears. You can let them come back to room temp before serving.
What if I don’t have soft caramels?
Use thick jarred caramel sauce, but avoid thin ice cream topping.
If it’s runny, simmer briefly to reduce, then cool to a pourable but thick consistency.
Why add both granulated and powdered sugar to the dough?
Granulated sugar adds structure and slight crunch, while powdered sugar brings tenderness. The combo makes a shortbread that’s crisp at the edges and soft in the center.
How do I keep the crumble from sinking?
Chilling the reserved dough and pouring the caramel over a hot, par-baked crust helps set the surface. Scatter small clumps evenly for the best coverage.
Can I make these ahead?
Absolutely.
Bake a day in advance, chill, and store airtight. They slice beautifully the next day and the flavors meld nicely.
What’s the best way to cut clean bars?
Use a long, sharp knife. Warm it under hot water, wipe dry, make a slice, then wipe the blade clean between cuts.
In Conclusion
Salted Caramel Butter Bars are the kind of dessert that feels special without being fussy.
With a buttery base, a lush caramel middle, and a kiss of flaky salt, they deliver big flavor in a simple format. Make them for potlucks, holidays, or a cozy night in. Keep a few in the freezer, and you’ll always be ready when a sweet craving hits.
Ingredients
Instructions
- Prep the pan and oven. Heat the oven to 325°F (163°C). Line an 8x8-inch baking pan with parchment, leaving overhang on two sides to lift out later. Lightly grease the parchment.
- Cream the butter and sugars. In a mixing bowl, beat softened butter with granulated sugar and powdered sugar until light and smooth, about 2–3 minutes. Mix in vanilla (and almond extract if using).
- Add dry ingredients. Whisk flour and fine sea salt in a separate bowl. Add to the butter mixture and mix on low just until a soft dough forms. It should be cohesive but not sticky.
- Press the base. Transfer about 2/3 of the dough to the prepared pan. Press it evenly into the bottom with your fingers or the bottom of a measuring cup. Chill the remaining 1/3 dough in the fridge for crumbling on top.
- Par-bake the crust. Bake the base for 18–20 minutes until the edges are set and lightly golden. This prevents a soggy bottom.
- Make the caramel layer. While the base bakes, combine soft caramels and 3 tablespoons heavy cream in a small saucepan over low heat. Stir constantly until smooth and pourable, 4–6 minutes. If it’s too thick, add another tablespoon of cream. Remove from heat and stir in a tiny pinch of salt (not the flaky kind).
- Layer and salt. Pour the warm caramel over the hot crust. Tilt the pan to spread evenly. Sprinkle the top with flaky sea salt—start with 1/2 teaspoon and adjust to taste.
- Top with crumble. Break the chilled remaining dough into small clumps and scatter evenly over the caramel. Leave small gaps so some caramel peeks through.
- Bake to finish. Return the pan to the oven and bake 22–26 minutes, until the top is lightly golden and you see gentle bubbles around the edges. The center will still look soft—this is good.
- Cool completely. Set the pan on a rack and cool to room temperature, then chill for 1–2 hours for cleaner slices. Lift out using the parchment and cut into bars with a sharp knife. Wipe the blade between cuts for neat edges.
Tried this recipe?
Let us know how it was!Printable Recipe Card
Want just the essential recipe details without scrolling through the article? Get our printable recipe card with just the ingredients and instructions.