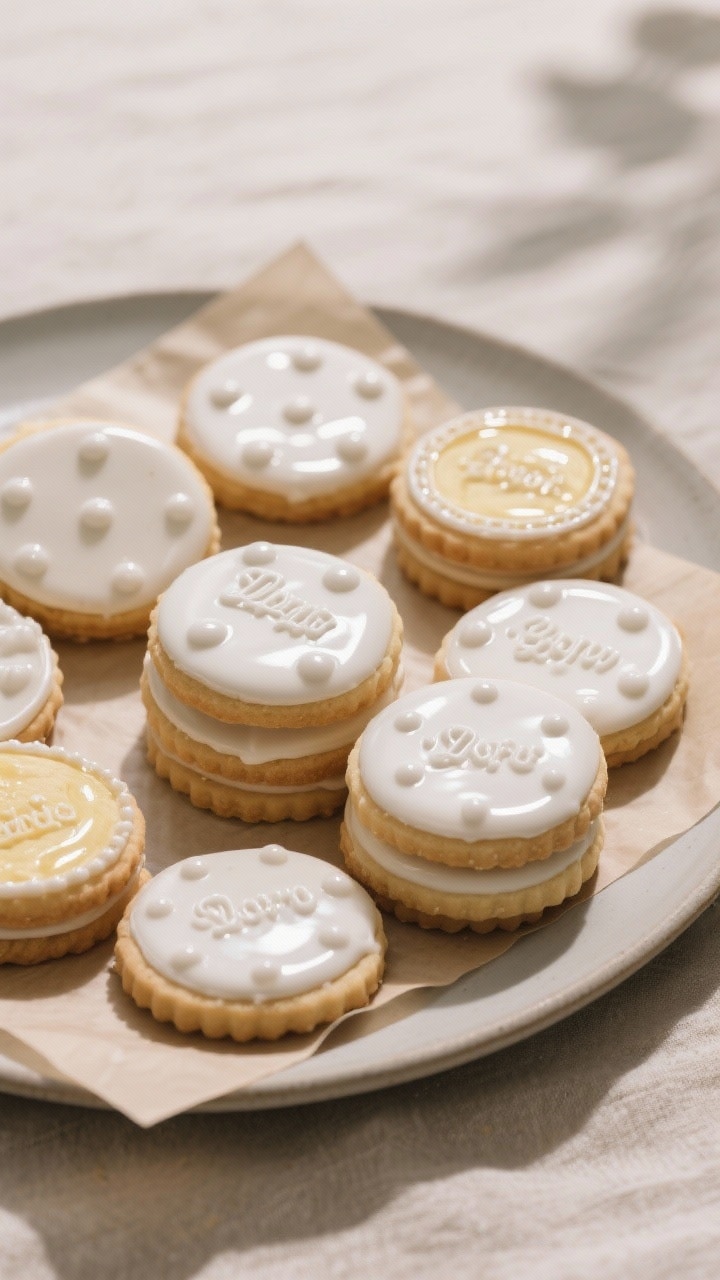
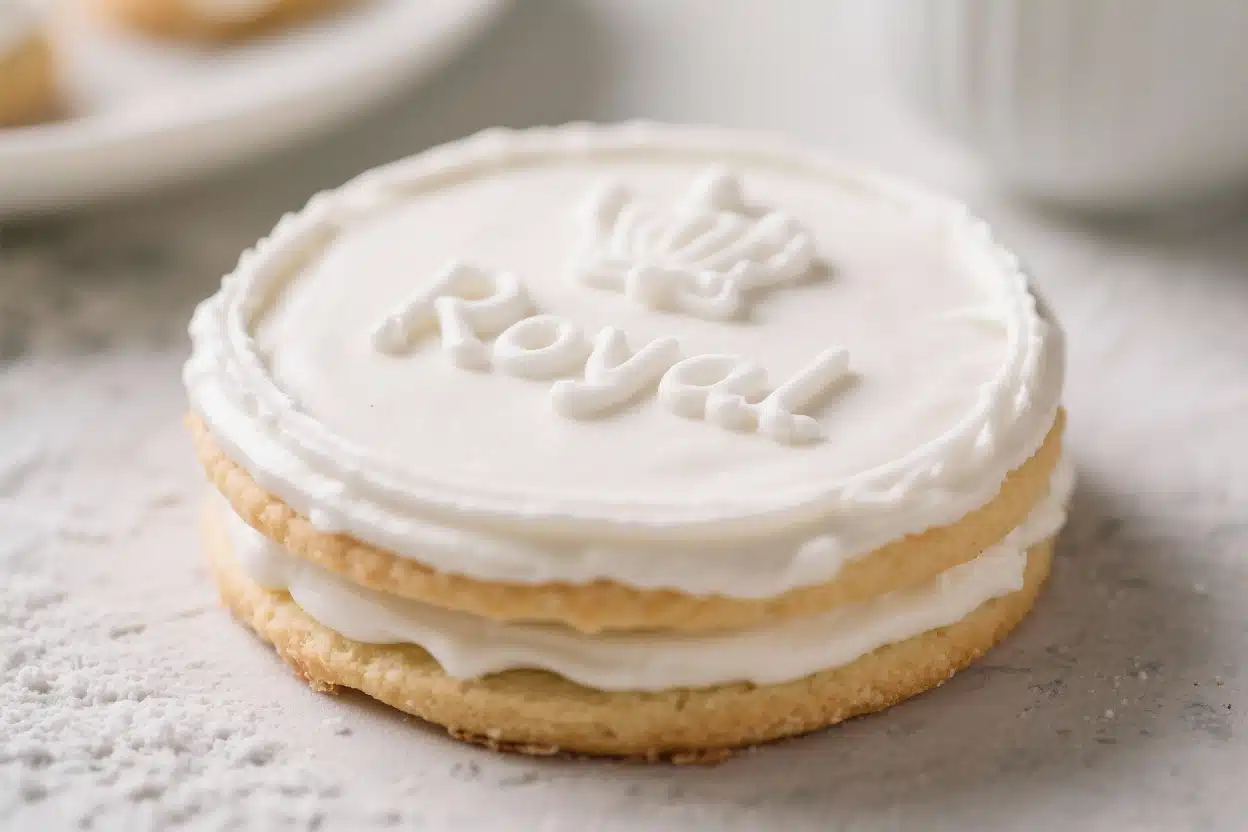
Royal icing is the secret to beautifully decorated cookies, crisp details, and a polished finish. It dries firm, pipes clean lines, and can be thinned for flooding smooth surfaces. If you’ve ever admired pretty sugar cookies with shiny tops and neat borders, this is the icing behind them.
The best part? It’s simple to make, customizable, and works for beginners and seasoned bakers alike.
What Makes This Recipe So Good
- Simple ingredients: Just powdered sugar, egg whites or meringue powder, and a splash of water and flavoring. Nothing fancy, but the results are impressive.
- Reliable consistency: This method helps you make thick icing for piping and thinner icing for flooding, with clear tests to know when it’s right.
- Quick to make: You can mix a batch in under 10 minutes and start decorating right away.
- Dries firm and smooth: Perfect for stacking cookies, adding details, and packaging without smudges.
- Customizable: Easily add color, flavor, or shine, and adjust for vegan or allergy-friendly options.
Shopping List
- Powdered sugar (confectioners’ sugar): 4 cups (480 g), sifted
- Meringue powder: 3 tablespoons (or 2 large pasteurized egg whites, room temperature)
- Water: 6–8 tablespoons, plus more as needed
- Vanilla extract or clear vanilla: 1 teaspoon (clear keeps the icing bright white)
- Cream of tartar (optional): 1/4 teaspoon, helps stability when using egg whites
- Gel food coloring (optional): Assorted colors
- Corn syrup (optional): 1–2 teaspoons for extra shine
- Fine salt (optional): A tiny pinch to balance sweetness
Instructions
- Sift the sugar. Add the powdered sugar to a large bowl and sift to remove clumps.
This keeps the icing silky and prevents clogged tips.
- Combine dry ingredients. If using meringue powder, whisk it into the sugar. If using egg whites, skip this step and move to the mixer bowl in the next step.
- Mix the base. In a stand mixer bowl (or large bowl with a hand mixer), add the sifted sugar mixture. For meringue powder version, add 6 tablespoons of water.
For egg white version, add the egg whites plus 4–5 tablespoons of water and the cream of tartar if using.
- Beat until glossy. Start on low until combined, then increase to medium. Beat 2–4 minutes until the icing is thick, smooth, and slightly glossy. It should form soft peaks.
Avoid overbeating; too much air creates bubbles.
- Add flavor. Mix in vanilla (use clear vanilla if you want bright white icing). Add a tiny pinch of salt to cut sweetness if desired.
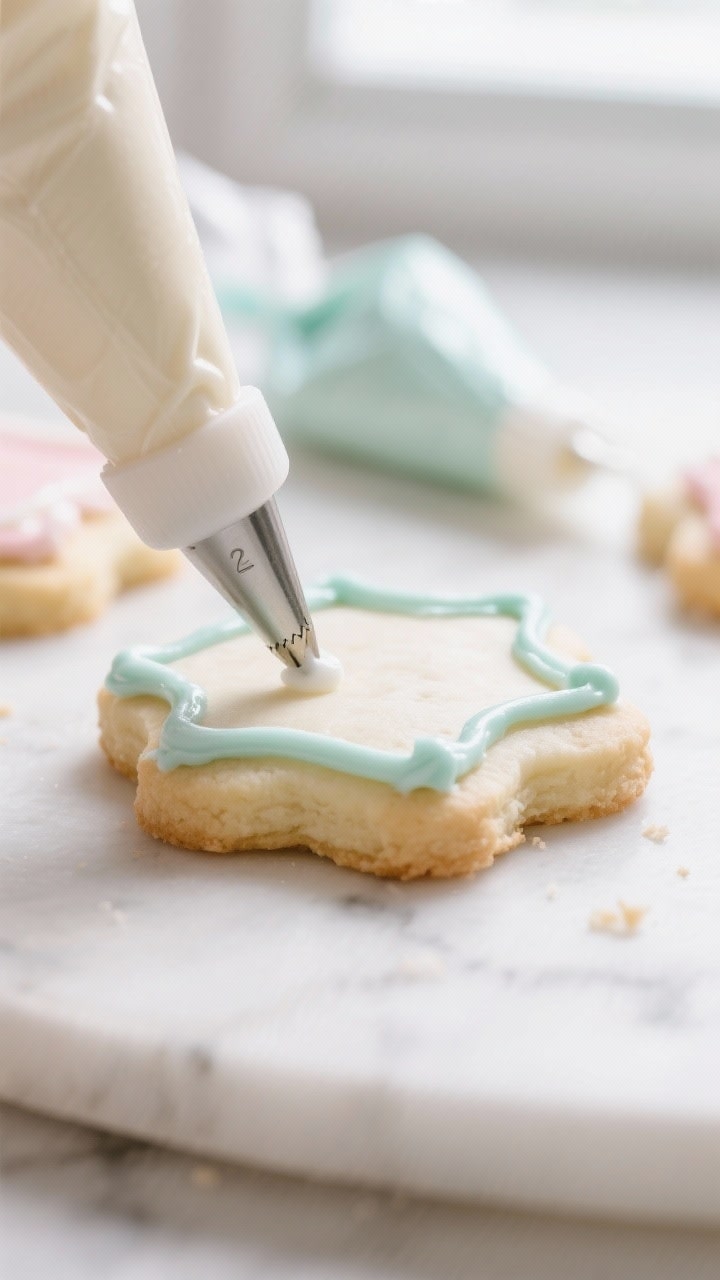
- Adjust consistency for piping. For outlining and details, aim for “toothpaste” thickness. If it’s too thick, add water 1/2 teaspoon at a time.
If it’s too thin, beat in a bit more powdered sugar.
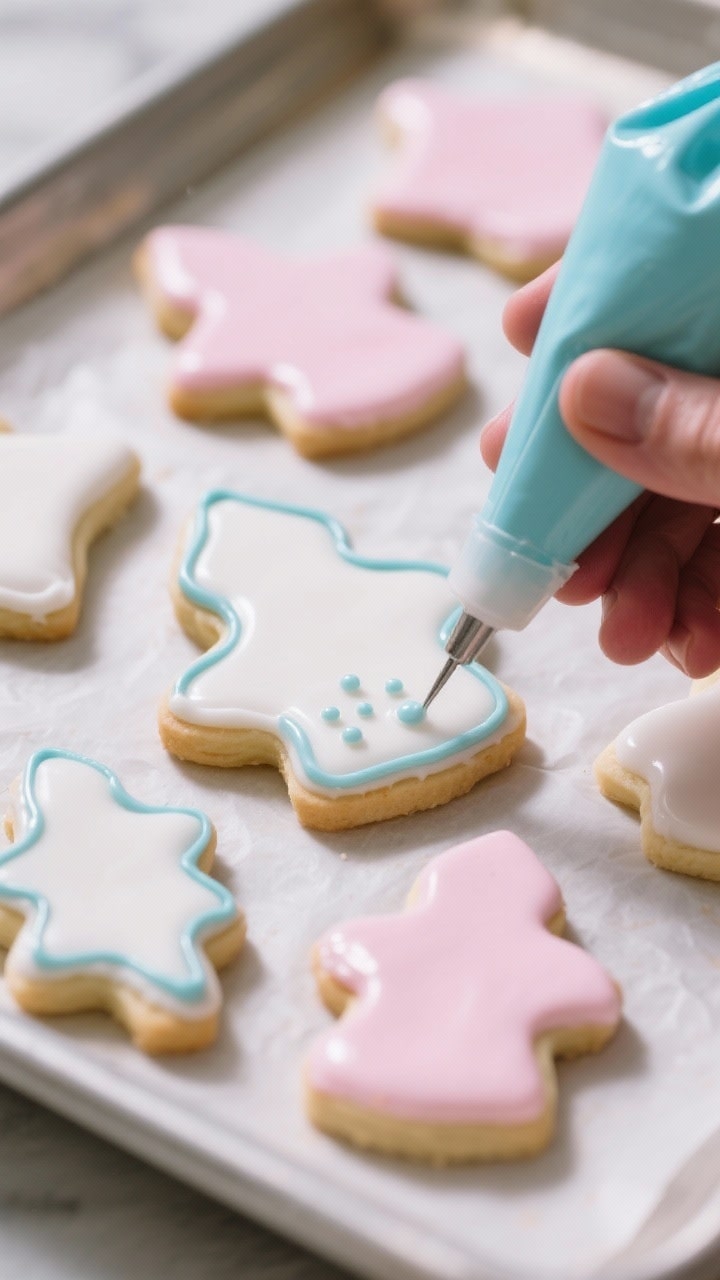
- Adjust for flooding. For flooding (filling in larger areas), thin the icing a little more. A good test is the “10–15 second rule”: drag a knife through the icing; the line should disappear in about 10–15 seconds. Add water drop by drop to reach this.
- Color the icing. Divide into bowls and add gel food coloring sparingly.
Gel color is strong and won’t water down the icing. Stir gently to avoid air bubbles.
- Bag it up. Transfer icing to piping bags fitted with small round tips (like #1–#3) or use squeeze bottles for flooding. Keep a piece of plastic wrap pressed directly onto any icing left in bowls to prevent crusting.
- Decorate. Outline cookies with piping consistency icing.
Let it set a few minutes, then flood the inside with thinner icing. Use a toothpick or scribe tool to nudge icing into corners and pop bubbles.
- Dry completely. Let decorated cookies dry uncovered at room temperature until the surface is dry to the touch (4–8 hours). For fully hard icing that’s stackable, allow 12–24 hours.
Storage Instructions
- Short-term: Keep icing in an airtight container at room temperature for up to 2 days if made with meringue powder.
Press plastic wrap directly onto the surface to stop crusting.
- Refrigeration: If made with egg whites, store in the fridge up to 3 days. Stir gently before using and adjust with a few drops of water if thickened.
- Freezer: Freeze royal icing (in piping bags or containers) up to 2 months. Thaw in the fridge overnight, then bring to room temp and stir slowly to smooth.
- Decorated cookies: Once fully dry, store cookies in an airtight container at room temp for 1–2 weeks.
Separate layers with parchment to prevent sticking.
Why This is Good for You
- Reliable results reduce stress: A consistent recipe means fewer failed batches and more fun decorating.
- Customizable sweetness and flavor: You control the flavor, color, and intensity. Clear vanilla, almond extract, or lemon keeps things bright and fresh.
- Allergen and diet flexibility: Using meringue powder avoids raw egg and makes the icing shelf-stable, great for parties and gifting.
- Better for presentation: A smooth, hard-drying finish protects designs, so your treats stay neat during travel and storage.
Common Mistakes to Avoid
- Skipping the sift: Lumpy sugar leads to clogged tips and bumpy icing. Sift for a smooth finish.
- Overbeating: Too much air creates bubbles and pockmarks.
Mix just until glossy and smooth.
- Adding too much water at once: Go drop by drop. It’s easier to thin than to fix icing that’s too runny.
- Ignoring consistency: Use thicker icing for outlines and details, thinner for flooding. One consistency does not fit all.
- Not covering the icing: Royal icing crusts quickly.
Keep bowls and tips covered when not in use.
- Rushing drying time: Humidity and thickness affect drying. Give cookies ample time before stacking or packaging.
Recipe Variations
- Lemon royal icing: Replace some water with fresh lemon juice and add 1/2 teaspoon lemon extract for a bright, tangy finish.
- Almond vanilla: Use 1/2 teaspoon clear vanilla and 1/2 teaspoon almond extract. It’s classic on sugar cookies.
- Extra glossy: Add 1–2 teaspoons light corn syrup to the icing for a softer shine and slightly less brittle finish.
- Dairy-free “butter” flavor: Add a drop or two of butter-flavored extract (ensure it’s dairy-free if needed) for a bakery-style taste.
- Chocolate royal icing: Replace 1/4 cup of the powdered sugar with cocoa powder and add a touch more water as needed.
- Vegan option: Use meringue powder and water only (no egg whites).
Choose plant-based colorings and clear vanilla.
FAQ
What’s the difference between meringue powder and egg whites?
Meringue powder is a shelf-stable blend that mimics egg whites and makes the icing safer and more predictable. Egg whites can create a slightly silkier texture, but require refrigeration and careful handling. Both work; choose based on your preference and storage needs.
How do I stop air bubbles in my icing?
Mix on low speed, avoid whipping, and let the icing rest 10–15 minutes after mixing.
Gently stir to bring bubbles to the surface, then pop them. When flooding, use a scribe tool or toothpick to burst any visible bubbles right away.
Why is my icing dull or matte?
Overmixing, high humidity, or very thin icing can dry matte. Add 1–2 teaspoons corn syrup for shine, keep drying in a cool, dry room, and avoid fans blasting directly on cookies.
How do I get pure white icing?
Use clear vanilla and avoid butter extracts that tint the icing.
A tiny drop of violet gel color can neutralize yellow tones. Start with fresh, bright white powdered sugar.
Can I flavor royal icing without thinning it too much?
Yes. Use concentrated extracts or emulsions, and add just 1/4 teaspoon at a time.
Avoid citrus oils that can separate the icing; stick to alcohol-based or water-soluble extracts.
How long does royal icing take to dry?
Surface dry is typically 4–8 hours, depending on thickness and humidity. For fully hard icing that’s safe to stack, allow 12–24 hours.
What consistency should I use for writing?
Use thick piping consistency, similar to toothpaste. It should hold a line without spreading but still flow smoothly from a small round tip.
Can I color the icing with liquid food dye?
Gel or paste colors are best because they’re concentrated and don’t thin the icing.
If you only have liquid dye, add it sparingly and adjust with extra powdered sugar if needed.
In Conclusion
Royal icing turns simple cookies into polished, gift-worthy treats. With a handful of ingredients and a few consistency checks, you can outline, flood, and add crisp details like a pro. Keep it covered, mix gently, and give it time to dry.
Once you master the basics, the flavor and color options are endless.

Ingredients
Instructions
- Sift the sugar. Add the powdered sugar to a large bowl and sift to remove clumps. This keeps the icing silky and prevents clogged tips.
- Combine dry ingredients. If using meringue powder, whisk it into the sugar. If using egg whites, skip this step and move to the mixer bowl in the next step.
- Mix the base. In a stand mixer bowl (or large bowl with a hand mixer), add the sifted sugar mixture. For meringue powder version, add 6 tablespoons of water. For egg white version, add the egg whites plus 4–5 tablespoons of water and the cream of tartar if using.
- Beat until glossy. Start on low until combined, then increase to medium. Beat 2–4 minutes until the icing is thick, smooth, and slightly glossy. It should form soft peaks. Avoid overbeating; too much air creates bubbles.
- Add flavor. Mix in vanilla (use clear vanilla if you want bright white icing). Add a tiny pinch of salt to cut sweetness if desired.
- Adjust consistency for piping. For outlining and details, aim for “toothpaste” thickness. If it’s too thick, add water 1/2 teaspoon at a time. If it’s too thin, beat in a bit more powdered sugar.
- Adjust for flooding. For flooding (filling in larger areas), thin the icing a little more. A good test is the “10–15 second rule”: drag a knife through the icing; the line should disappear in about 10–15 seconds. Add water drop by drop to reach this.
- Color the icing. Divide into bowls and add gel food coloring sparingly. Gel color is strong and won’t water down the icing. Stir gently to avoid air bubbles.
- Bag it up. Transfer icing to piping bags fitted with small round tips (like #1–#3) or use squeeze bottles for flooding. Keep a piece of plastic wrap pressed directly onto any icing left in bowls to prevent crusting.
- Decorate. Outline cookies with piping consistency icing. Let it set a few minutes, then flood the inside with thinner icing. Use a toothpick or scribe tool to nudge icing into corners and pop bubbles.
- Dry completely. Let decorated cookies dry uncovered at room temperature until the surface is dry to the touch (4–8 hours). For fully hard icing that’s stackable, allow 12–24 hours.
Tried this recipe?
Let us know how it was!Printable Recipe Card
Want just the essential recipe details without scrolling through the article? Get our printable recipe card with just the ingredients and instructions.