Ninja Creami vanilla ice cream is more than just a dessert—it’s a trip down memory lane. The moment I scooped my first batch, I was transported to childhood summers, when laughter echoed through the yard and melting cones dripped sweetness down our fingers. There’s a gentle magic in vanilla—it’s simple, yet deeply soulful. And now, with the Ninja Creami, creating that creamy, dreamy joy is easier than ever.
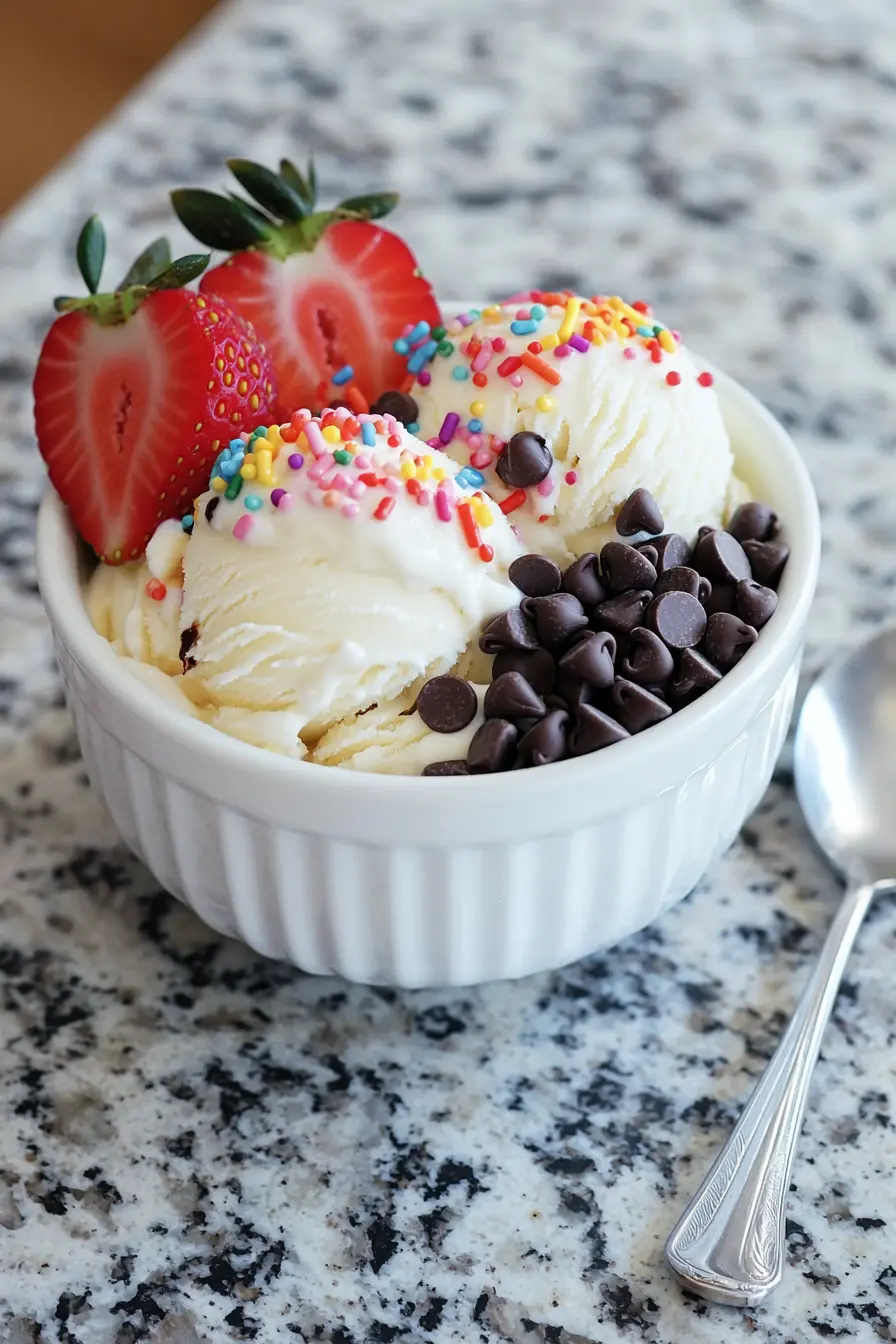
This recipe wraps love, comfort, and a touch of nostalgia into every spoonful. Whether you’re prepping for a quiet evening or a family gathering, it’s a guaranteed crowd-pleaser. Plus, if you’re building out your dessert list, you’ll adore my Perfect Chocolate Layer Cake—a rich, elegant bake that pairs beautifully with a scoop of vanilla on the side.
💛 So if you’re ready to treat yourself to something effortlessly indulgent, keep reading. I’ll guide you step-by-step to Ninja Creami perfection—just five ingredients, a pint container, and a little patience stand between you and homemade happiness.
Table of Contents
Why You’ll Love Ninja Creami Vanilla Ice Cream
It’s a Crowd-Pleaser That Looks Fancy
Let’s be real. When vanilla ice cream graces the table, its elegance captivates the crowd. It’s simple yet sophisticated, dressing up any occasion. Whether it’s a family gathering, a special date night, or simply a cozy evening with friends, this treat stands proud, ready to enhance the moment.
Minimal Ingredients, Maximum Flavor
Just a handful of ingredients brings forth a flavor that’s oh-so-decadent. The beauty of vanilla lies in its ability to shine through beautifully. This recipe transforms humble ingredients into a creamy masterpiece.
Make-Ahead Friendly & No Mess
Imagine setting this delightful treat the night before – simply freeze, spin, and serve! It’s perfect for those busy days when you want to treat your loved ones without the fuss.
What You’ll Need
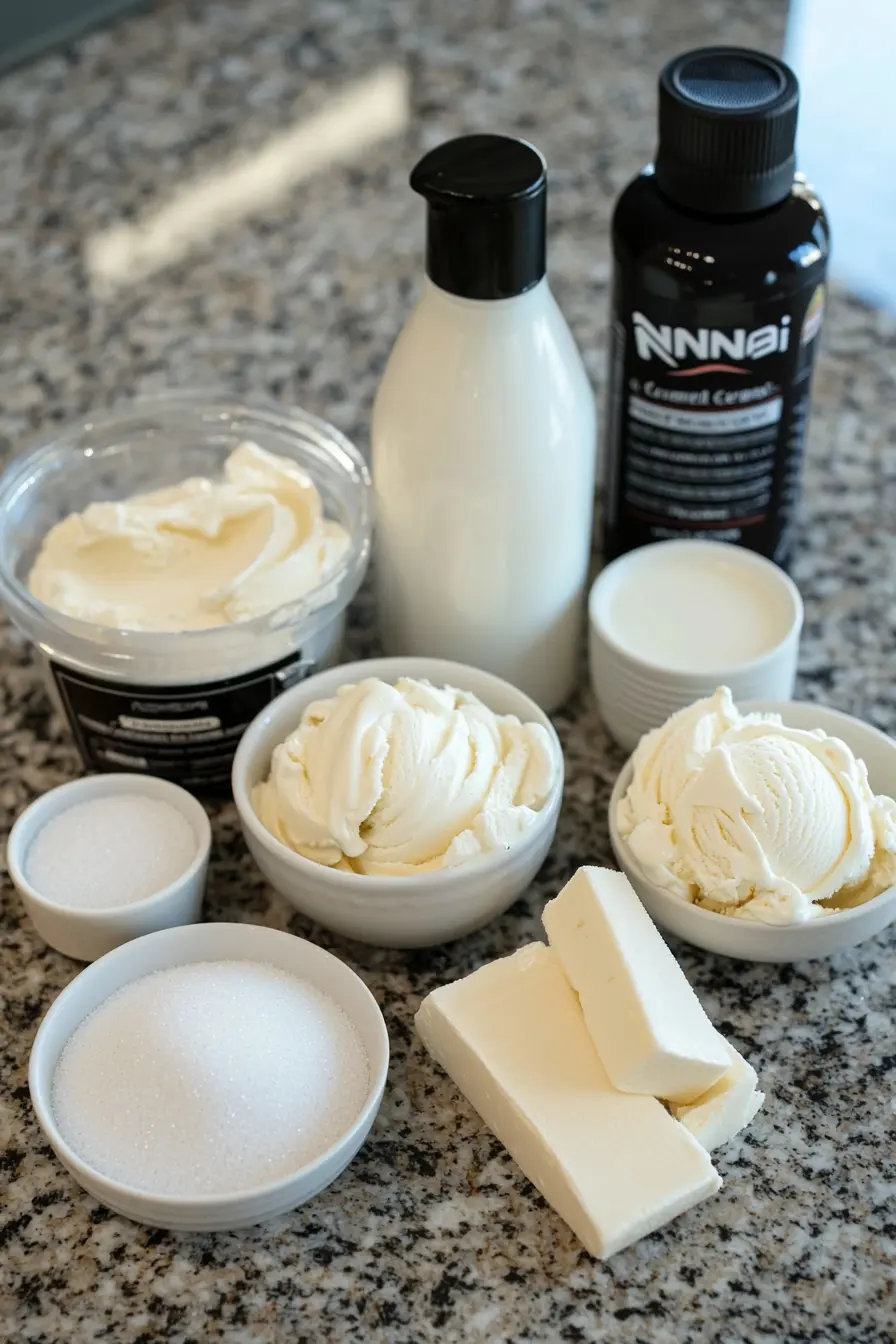
Key Ingredients
To make this delightful Ninja Creami vanilla ice cream, you’ll need:
- Cream cheese
- Granulated sugar
- Vanilla bean paste or extract
- Heavy cream
- Whole milk
Optional Add-Ons
Why stop at vanilla? Customize your ice cream with yummy mix-ins like chocolate chips, fruits, or sprinkles! The sky’s the limit.
Brands I Personally Love
When it comes to quality, I reach for brands that stand out. For cream and milk, I love Horizon Organic or Organic Valley, known for their rich flavors and commitment to quality.
How to Make Ninja Creami Vanilla Ice Cream (Step-by-Step)
Step 1 – Prep the Ingredients
In a mixing bowl, soften your cream cheese until it’s easily spreadable. Add the sugar and blend until smooth, then incorporate the vanilla.
Step 2 – Freeze for 24 Hours
Pour the mixture into the Ninja Creami pint container, ensuring not to exceed the fill line. Secure the lid and place it in the freezer for at least 24 hours.
Step 3 – Spin It Up
Once frozen, pop the pint into the Ninja Creami machine, select the Ice Cream setting, and let the magic happen! In less than a few minutes, enjoy creamy goodness.
Pro Tip – Keep It Crispy, Not Greasy
To ensure the best texture, if your first spin creates a crumbly mix, don’t fret. Simply use the re-spin function!
Expert Tips for Perfect Results
- For a lighter touch, consider substituting half the cream with Greek yogurt.
- Layer your presentation by scooping the ice cream into elegant bowls and topping with fresh fruits.
- Avoid adding too much sugar at once for a smoother texture.
🍨 Deepen Your Ice Cream Knowledge: Curious about the science behind that creamy texture? Explore Serious Eats’ comprehensive ice cream guides to learn about techniques and ingredients that can elevate your homemade ice cream to the next level.
Easy Variations & Flavor Boosts
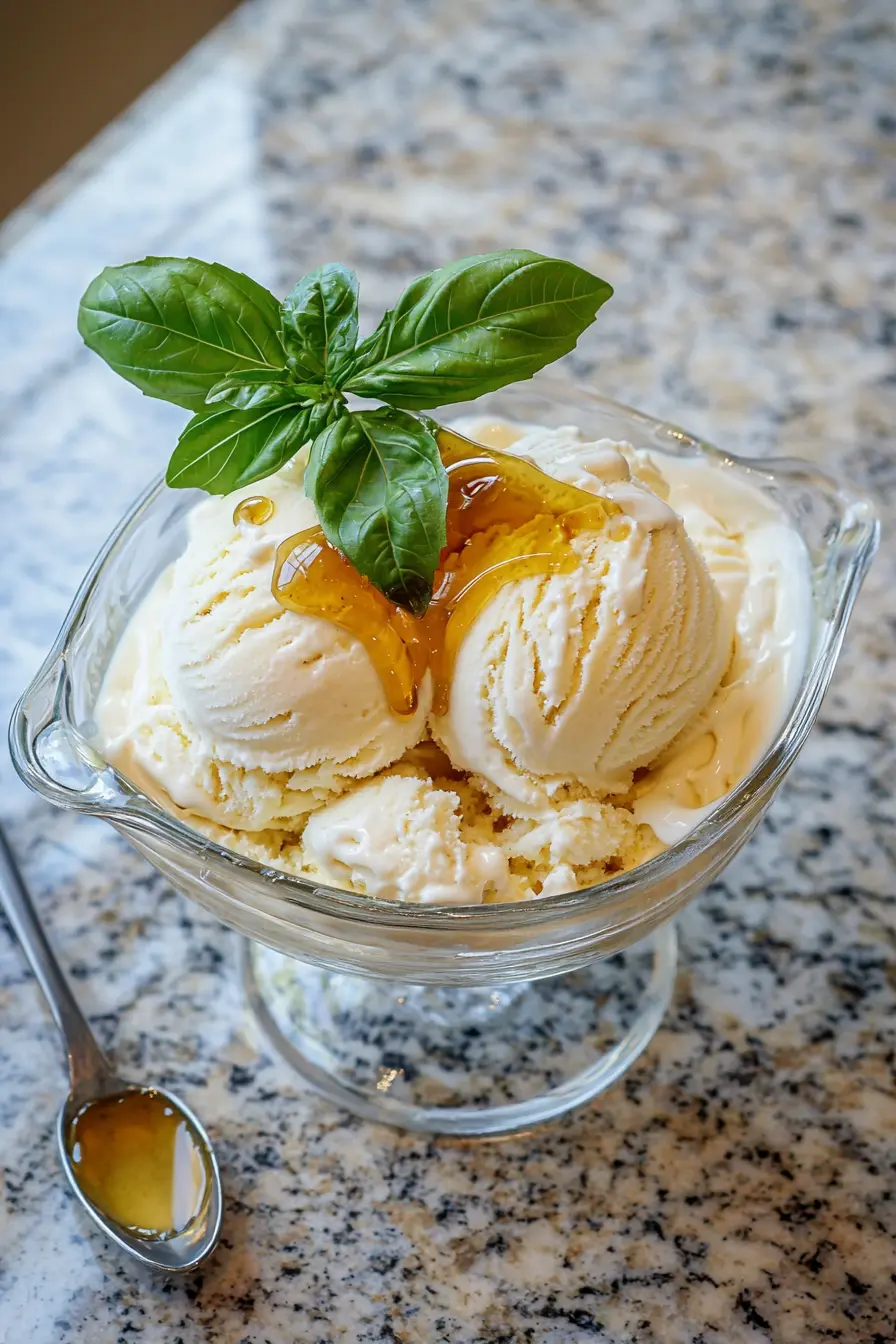
Add Basil, Honey, or Balsamic
For an unexpected twist, try adding fresh basil or a drizzle of honey. A splash of balsamic glaze creates a delightful contrast! If you love pairing cool and creamy with bold and zesty, try serving this alongside my tangy Lemon Cake to Die For—it’s a match made in dessert heaven.
Vegetarian Option
Every element of this recipe is vegetarian-friendly, making it perfect for all diets.
Air Fryer Instructions
If you want to get creative, use your air fryer to make ice cream sandwiches using cookies for the ultimate treat.
Keto / Low-Carb Twist
Use almond milk and reduce the sugar content to enjoy a delicious low-carb version.
Storage, Reheating & Make-Ahead Tips
Can I Freeze It?
Absolutely! Store any leftovers in the pint container, but consume within a week for the best texture.
Best Way to Reheat
Let it sit at room temperature for a few minutes before serving. A quick re-spin will revive its creamy essence.
How Far Ahead Can I Prep?
You can prepare the mixture days in advance, effortlessly serving it when guests arrive. And if you’re planning a full dessert spread, consider adding a slice of my moist and spiced Carrot Cake to the table—it’s a comforting classic that pairs beautifully with vanilla ice cream.
🧊 Food Safety Tip: To maintain the best texture and safety of your homemade Ninja Creami vanilla ice cream, ensure your freezer is set to 0°F (-18°C). According to the FDA’s guidelines on food storage, this temperature halts bacterial growth and preserves food quality, keeping your ice cream delicious and safe for consumption.

Ninja Creami Vanilla Ice Cream
Ingredients
Ice Cream Base
- 2 tbsp cream cheese softened
- 1/3 cup granulated sugar
- 1 tbsp vanilla bean paste or extract
- 1/2 cup heavy cream
- 1 cup whole milk
Instructions
- In a mixing bowl, soften cream cheese until smooth.
- Whisk in granulated sugar and vanilla until well combined.
- Gradually add heavy cream and whole milk, whisking until the mixture is smooth and uniform.
- Pour into the Ninja Creami pint container, ensuring not to exceed the fill line.
- Freeze for at least 24 hours.
- Spin in Ninja Creami using Ice Cream setting. Re-spin if needed for creamier texture.
Equipment
- Ninja Creami
- Mixing Bowl
Notes
FAQs About Ninja Creami Vanilla Ice Cream
What ingredients are needed for Ninja Creami vanilla ice cream?
You’ll need cream cheese, sugar, vanilla extract or paste, heavy cream, and whole milk.
These pantry-friendly ingredients create a rich, velvety base perfect for spinning into ice cream magic with your Ninja Creami.
How long do I need to freeze Ninja Creami ice cream before spinning?
Freeze the mixture for at least 24 hours before spinning.
This ensures the base is fully solidified so the Ninja Creami can create that dreamy, creamy texture we all love.
Can I use almond milk or low-fat milk instead?
Yes, but expect a lighter, less creamy result.
Substitute almond milk or reduced-fat milk for a lower-calorie or dairy-free twist—just know the texture may not be as rich.
What if my Ninja Creami ice cream turns out crumbly?
Use the re-spin function—it usually fixes the texture instantly.
This is a common quirk. After one re-spin, you’ll typically get that perfect soft-serve finish.
Can I add mix-ins like chocolate chips or fruit?
Absolutely! Add them after the first spin, then use the “Mix-In” setting.
This is your chance to get creative—try berries, cookie bits, sprinkles, or even a caramel swirl.
How should I store leftover Ninja Creami ice cream?
Keep it in the Ninja Creami container and freeze with the lid tightly sealed.
For best quality, consume within 5–7 days and re-spin if it hardens over time.
More Recipes You’ll Love
Final Thoughts on Ninja Creami Vanilla Ice Cream
Every time I whip up this Ninja Creami vanilla ice cream, I’m reminded of joyful moments spent in the kitchen. A scoop of this delightful treat serves as a gentle reminder of love and laughter shared with family and friends.
I invite you to try this recipe and let your creativity flow! Don’t forget to share your creations or variations you make. For more inspiration, check out my beloved Chocolate Pop It Recipe!
Tag me if you try it – I can’t wait to hear about your sweet experiences! 🍦
