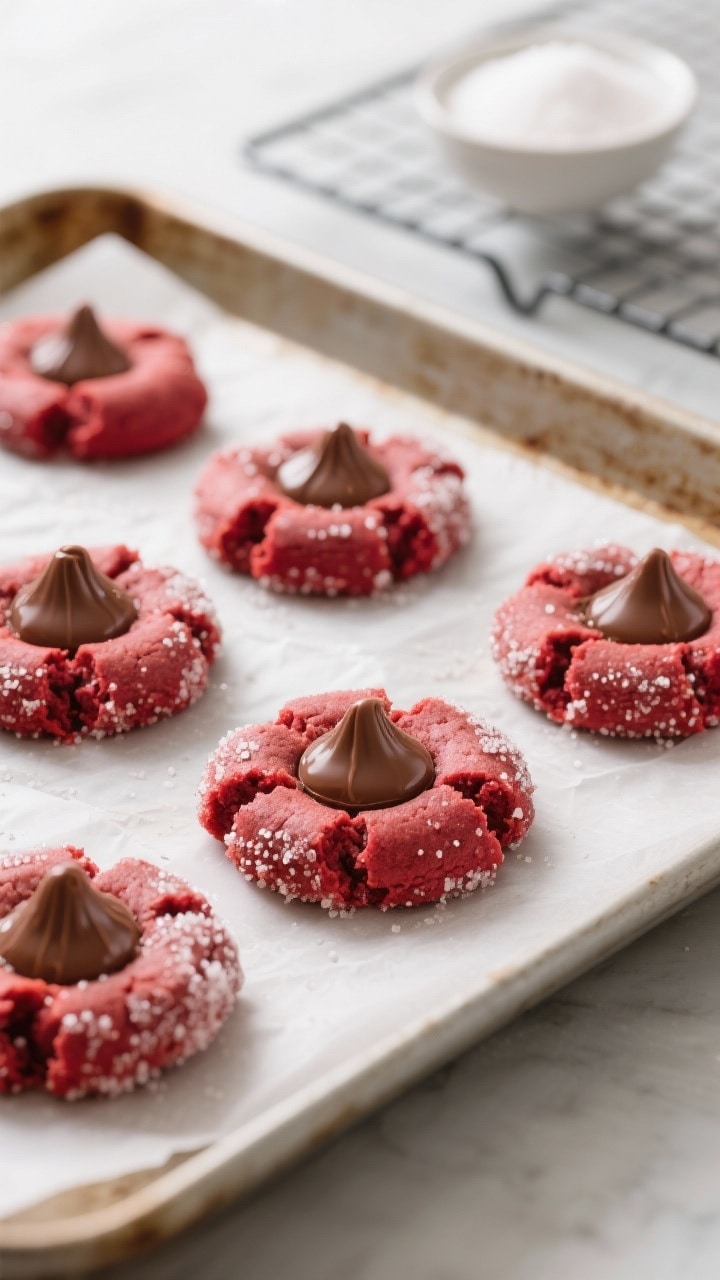
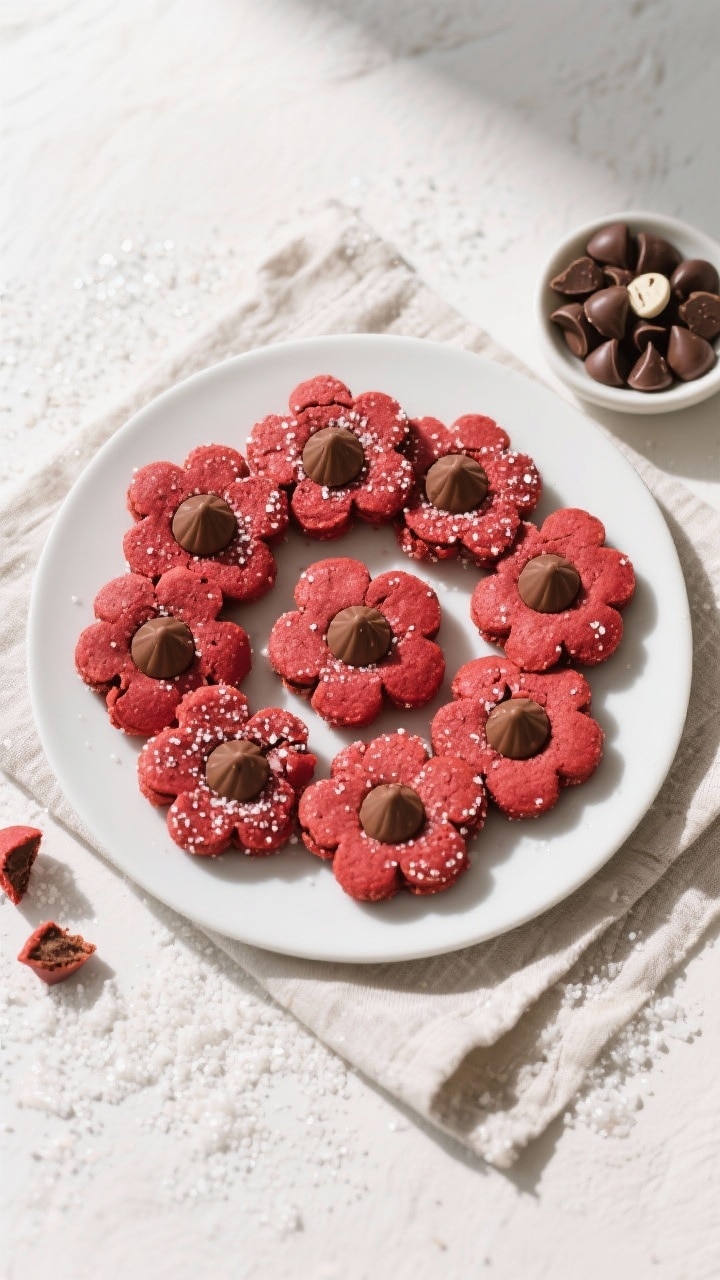
Red velvet blossoms are the kind of cookie that makes people smile before they even take a bite. They’re soft, chewy, and rolled in sugar, with a sweet chocolate candy pressed into the center. The bright red color feels a little special without any extra effort.
If you love the classic peanut butter blossom, this is its red velvet cousin with a hint of cocoa and a touch of tang. They’re perfect for holidays, parties, or anytime you want a quick baking win.
Table of Contents
What Makes This Recipe So Good
- Simple pantry ingredients: No fancy tools or complicated steps. Just mix, scoop, bake, and top.
- Soft and chewy texture: The cookies stay tender thanks to a mix of butter, egg, and a little cornstarch.
- That classic red velvet flavor: A subtle cocoa note and a touch of vanilla give these cookies their signature taste.
- Pretty presentation: Rolled in sugar and topped with a chocolate kiss, they look bakery-quality with minimal work.
- Great make-ahead option: The dough chills well, and baked cookies freeze beautifully.
Ingredients
- 1 1/2 cups all-purpose flour
- 2 tablespoons unsweetened cocoa powder
- 1 teaspoon cornstarch
- 1/2 teaspoon baking soda
- 1/4 teaspoon fine salt
- 1/2 cup (1 stick) unsalted butter, softened
- 3/4 cup granulated sugar, plus more for rolling
- 1/4 cup light brown sugar, packed
- 1 large egg, room temperature
- 2 teaspoons vanilla extract
- 1 teaspoon distilled white vinegar (or apple cider vinegar)
- 2–3 teaspoons red liquid food coloring (gel works too; start with less and adjust)
- 36 milk chocolate candy kisses, unwrapped
- Optional: 1–2 tablespoons milk if dough is too dry
How to Make It
- Whisk the dry mix: In a bowl, whisk flour, cocoa powder, cornstarch, baking soda, and salt until well combined.
- Cream the butter and sugars: In a large bowl, beat the butter, granulated sugar, and brown sugar until light and fluffy, about 2–3 minutes.
- Add the wet ingredients: Beat in the egg and vanilla.
Mix in the vinegar and red food coloring until the color is even. Adjust the red to your preference.
- Combine: Add the dry ingredients to the wet mixture. Mix on low until a soft dough forms.
If it seems crumbly, add a splash of milk to bring it together.
- Chill the dough: Cover and refrigerate for 20–30 minutes. This helps the cookies keep their shape.
- Prep the oven and pans: Preheat to 350°F (175°C). Line baking sheets with parchment paper.
Place extra granulated sugar in a small bowl for rolling.
- Shape the cookies: Scoop 1 tablespoon of dough (about 1-inch balls). Roll each in sugar and place on the prepared sheets, spacing about 2 inches apart.
- Bake: Bake for 8–10 minutes, until the edges are set and the tops look slightly puffed. They should still look soft in the center.
- Press the candy: Immediately press a chocolate kiss into the center of each cookie.
The edges may crack slightly—that’s perfect.
- Cool: Let cookies sit on the sheet for 5 minutes to set, then transfer to a wire rack to cool completely. The chocolate will firm up as they cool.
How to Store
- Room temperature: Store in an airtight container for up to 4 days. Place a piece of bread in the container to keep them soft.
- Refrigerator: Not necessary for baked cookies, but chilled dough can be stored for up to 48 hours.
- Freezer (baked): Freeze in layers separated by parchment for up to 2 months.
Thaw at room temperature.
- Freezer (dough): Roll dough into balls (without sugar), freeze on a tray, then bag for up to 2 months. Bake from frozen, adding 1–2 minutes, and roll in sugar just before baking.
Benefits of This Recipe
- Quick and approachable: No mixer tricks or complicated steps. Great for beginner bakers.
- Festive with minimal effort: The red hue and candy center feel special without decorating.
- Customizable sweetness and color: Adjust the red and chocolate to taste.
- Consistent results: A short chill and the cornstarch yield soft, reliable cookies.
- Kid-friendly project: Rolling dough in sugar and unwrapping kisses is a fun job for little helpers.
Common Mistakes to Avoid
- Overbaking: Pull them when they’re just set.
They’ll finish cooking on the sheet. Overbaked cookies turn dry fast.
- Skipping the chill: Warm dough spreads more and won’t hold that classic blossom shape.
- Too much flour: Spoon and level your flour. Packed flour makes dense, crumbly cookies.
- Not enough color: Red velvet should look vibrant.
If the cocoa dulls the color, add a touch more food coloring.
- Pressing the candy too late: Add the kiss right out of the oven so it adheres and sinks slightly.
Recipe Variations
- Chocolate center swap: Use dark chocolate kisses, white chocolate hugs, or peanut butter chocolates for a twist.
- Cream cheese vibe: Add 2 ounces of softened cream cheese to the butter and increase the flour by 2 tablespoons for extra tang and softness.
- Sparkle sugar finish: Roll in coarse sanding sugar for a glittery look and added crunch.
- Gluten-free: Use a 1:1 gluten-free baking flour blend. Add an extra teaspoon of milk if the dough seems dry.
- Peppermint holiday version: Add 1/4 teaspoon peppermint extract and top with candy cane kisses.
- Stuffed surprise: Wrap the dough around a mini chocolate square or chocolate-covered caramel for a gooey center.
FAQ
Do I have to use food coloring?
No. The color is just for looks.
The cookies will still taste great without it, though they’ll be more of a light cocoa brown.
Can I use natural food coloring?
Yes, but natural colors may bake up less vibrant. Gel natural color tends to be stronger than liquid. Start with a small amount and build up.
Why is there vinegar in red velvet?
Vinegar adds a subtle tang and reacts with baking soda for lift.
It also helps brighten the red color a bit. You won’t taste it in the final cookie.
My dough is crumbly. What should I do?
Work in 1–2 teaspoons of milk until the dough comes together.
Also make sure your butter is softened, not cold, before mixing.
How do I keep the chocolate kiss from melting?
The kiss will soften but should keep its shape. Let the cookies cool on the sheet for 5 minutes, then move to a rack. Avoid stacking until the chocolate is firm.
Can I make bigger cookies?
Yes.
Use 1 1/2 tablespoons of dough per cookie and bake 1–2 minutes longer. Keep an eye on the edges so they don’t overbake.
Can I add white chocolate chips to the dough?
Absolutely. Fold in 1/2 cup white chocolate chips for extra sweetness and pretty contrast.
What if I don’t have cornstarch?
You can skip it.
The cookies will still be good, just a touch less tender. Alternatively, replace 1 tablespoon of flour with cornstarch if you have it later.
Wrapping Up
Easy red velvet blossoms cookies check all the boxes: they’re simple, pretty, and reliably delicious. With a soft, chewy center and a chocolate kiss on top, they’re a crowd-pleaser for any occasion.
Keep a batch of dough in the fridge or freezer, and you’ll be ready for last-minute treats or surprise guests. Once you make them, they’ll earn a permanent spot in your dessert rotation.

Ingredients
Instructions
- Whisk the dry mix: In a bowl, whisk flour, cocoa powder, cornstarch, baking soda, and salt until well combined.
- Cream the butter and sugars: In a large bowl, beat the butter, granulated sugar, and brown sugar until light and fluffy, about 2–3 minutes.
- Add the wet ingredients: Beat in the egg and vanilla. Mix in the vinegar and red food coloring until the color is even. Adjust the red to your preference.
- Combine: Add the dry ingredients to the wet mixture. Mix on low until a soft dough forms. If it seems crumbly, add a splash of milk to bring it together.
- Chill the dough: Cover and refrigerate for 20–30 minutes. This helps the cookies keep their shape.
- Prep the oven and pans: Preheat to 350°F (175°C). Line baking sheets with parchment paper. Place extra granulated sugar in a small bowl for rolling.
- Shape the cookies: Scoop 1 tablespoon of dough (about 1-inch balls). Roll each in sugar and place on the prepared sheets, spacing about 2 inches apart.
- Bake: Bake for 8–10 minutes, until the edges are set and the tops look slightly puffed. They should still look soft in the center.
- Press the candy: Immediately press a chocolate kiss into the center of each cookie. The edges may crack slightly—that’s perfect.
- Cool: Let cookies sit on the sheet for 5 minutes to set, then transfer to a wire rack to cool completely. The chocolate will firm up as they cool.